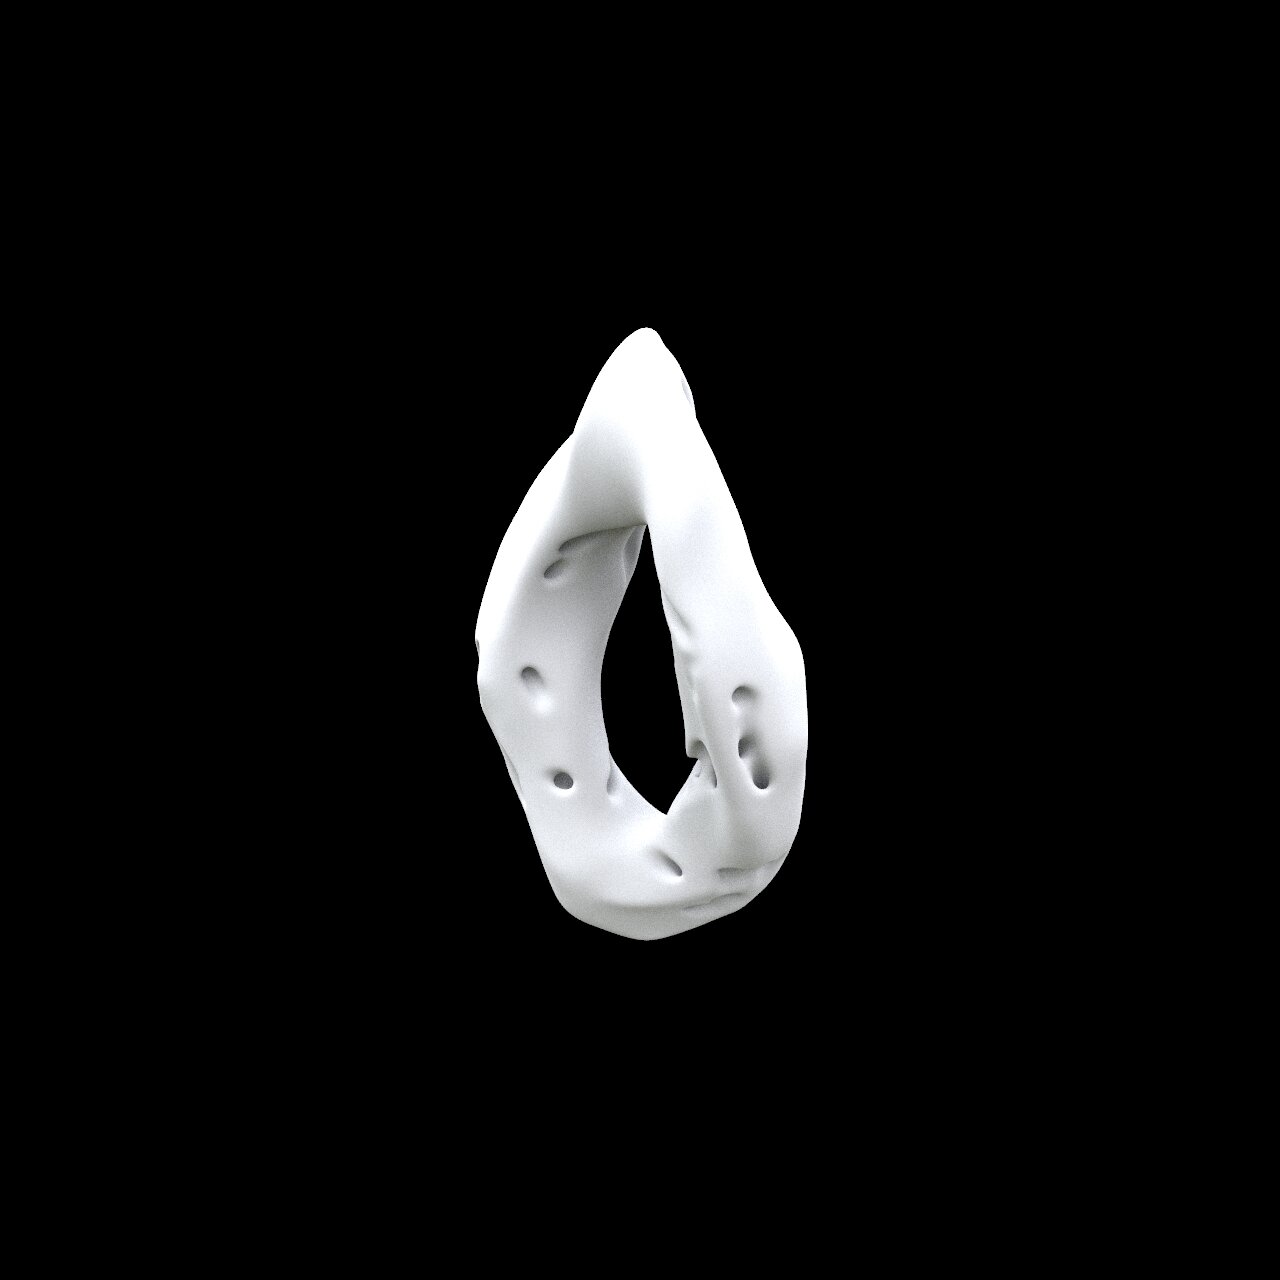
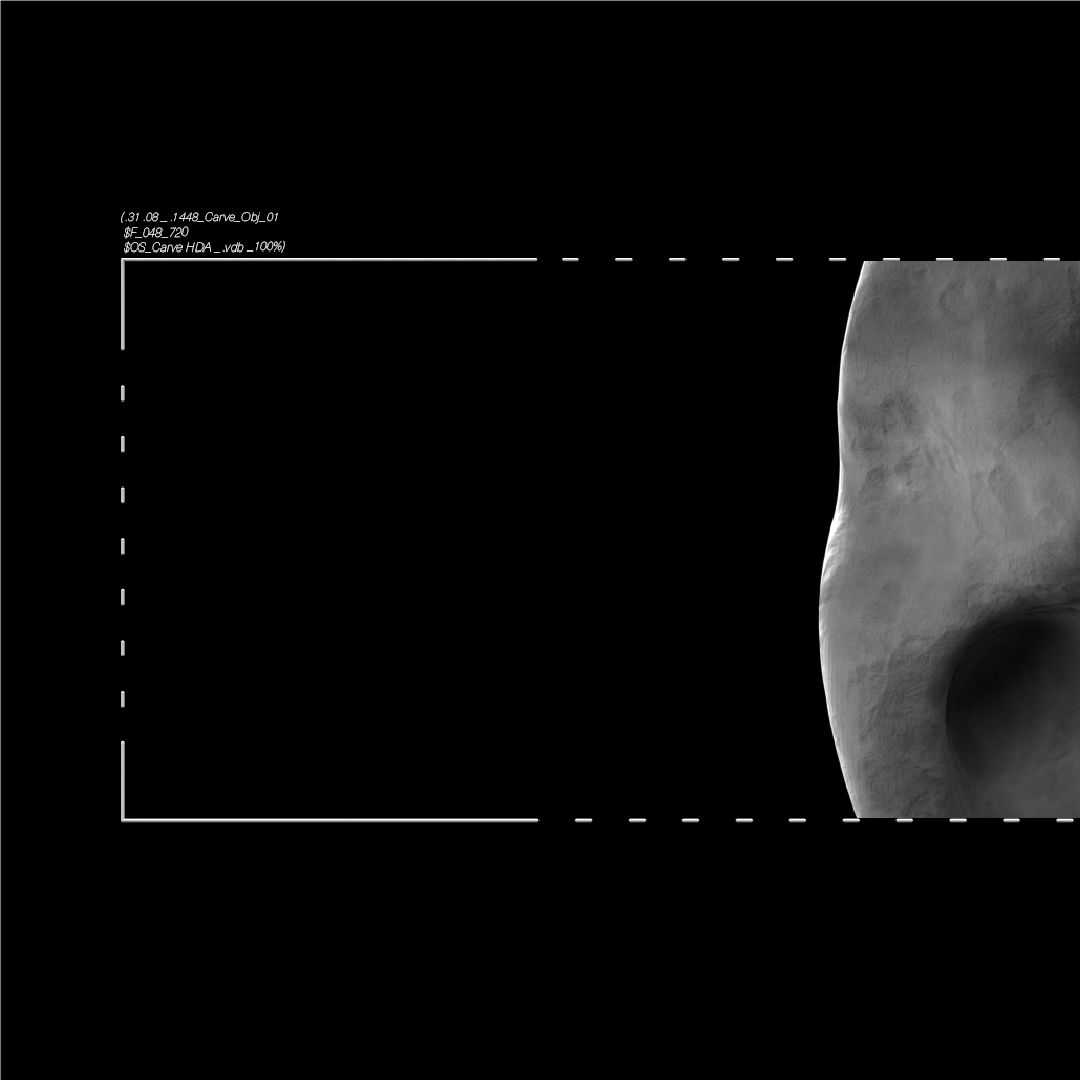
Carve Obj_01 | Moonscape

The Act of Carving
So you want to carve some mass but Zbrush is still being a hipster with its one-of-a-kind interface? Tried it in Blender but turns out you have no idea what your doing? Who are you kidding, just let the computer do the hard work for you and post rationalize the rest That’s what Parametricism is all about.
Obviously, nothing is quite that simple and even in generative algorithms there are design choices to be made. There is definitely something to be said though for VDB carving which is what this video above is showcasing.
What is a VDB?
Here’s a great paper that breaks down the technicalities for you: Link
TLDR
Think of VDB as a file type that’s great at storing data related to 3D algorithms, which is why they’re most commonly used for Voxel-based workflows (3D-pixels essentially). Here’s one more link from Open VDB if you have some more basic questions: Link
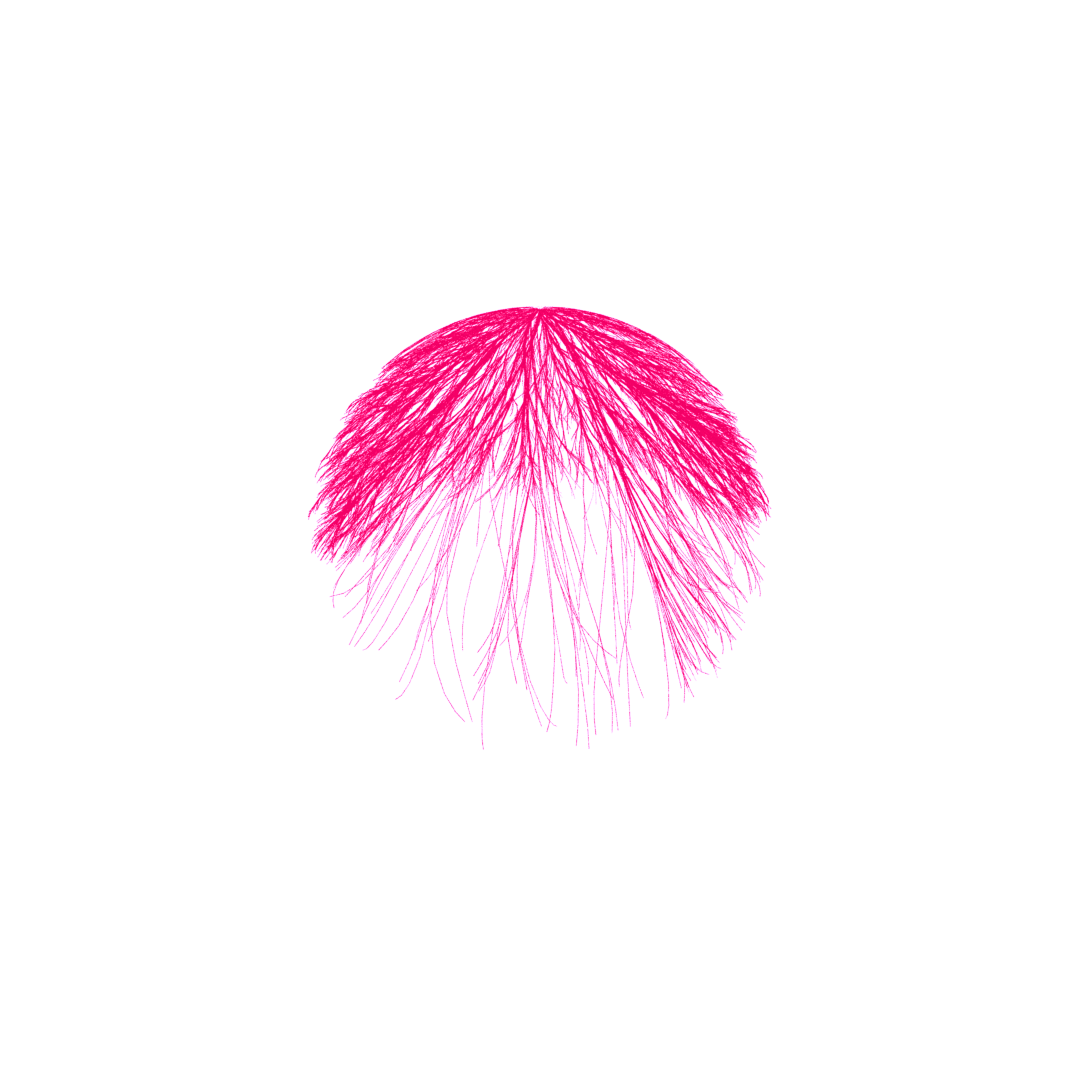
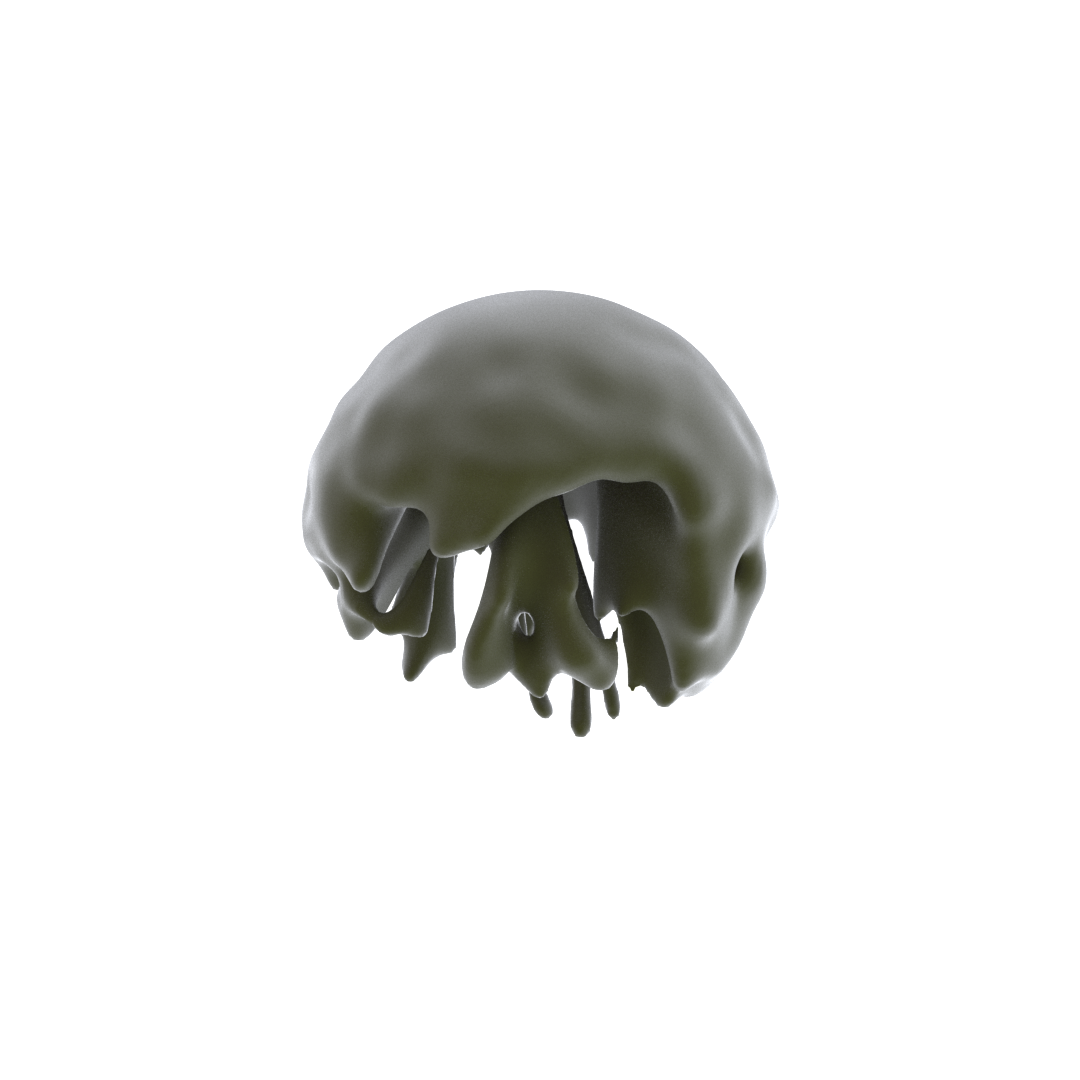
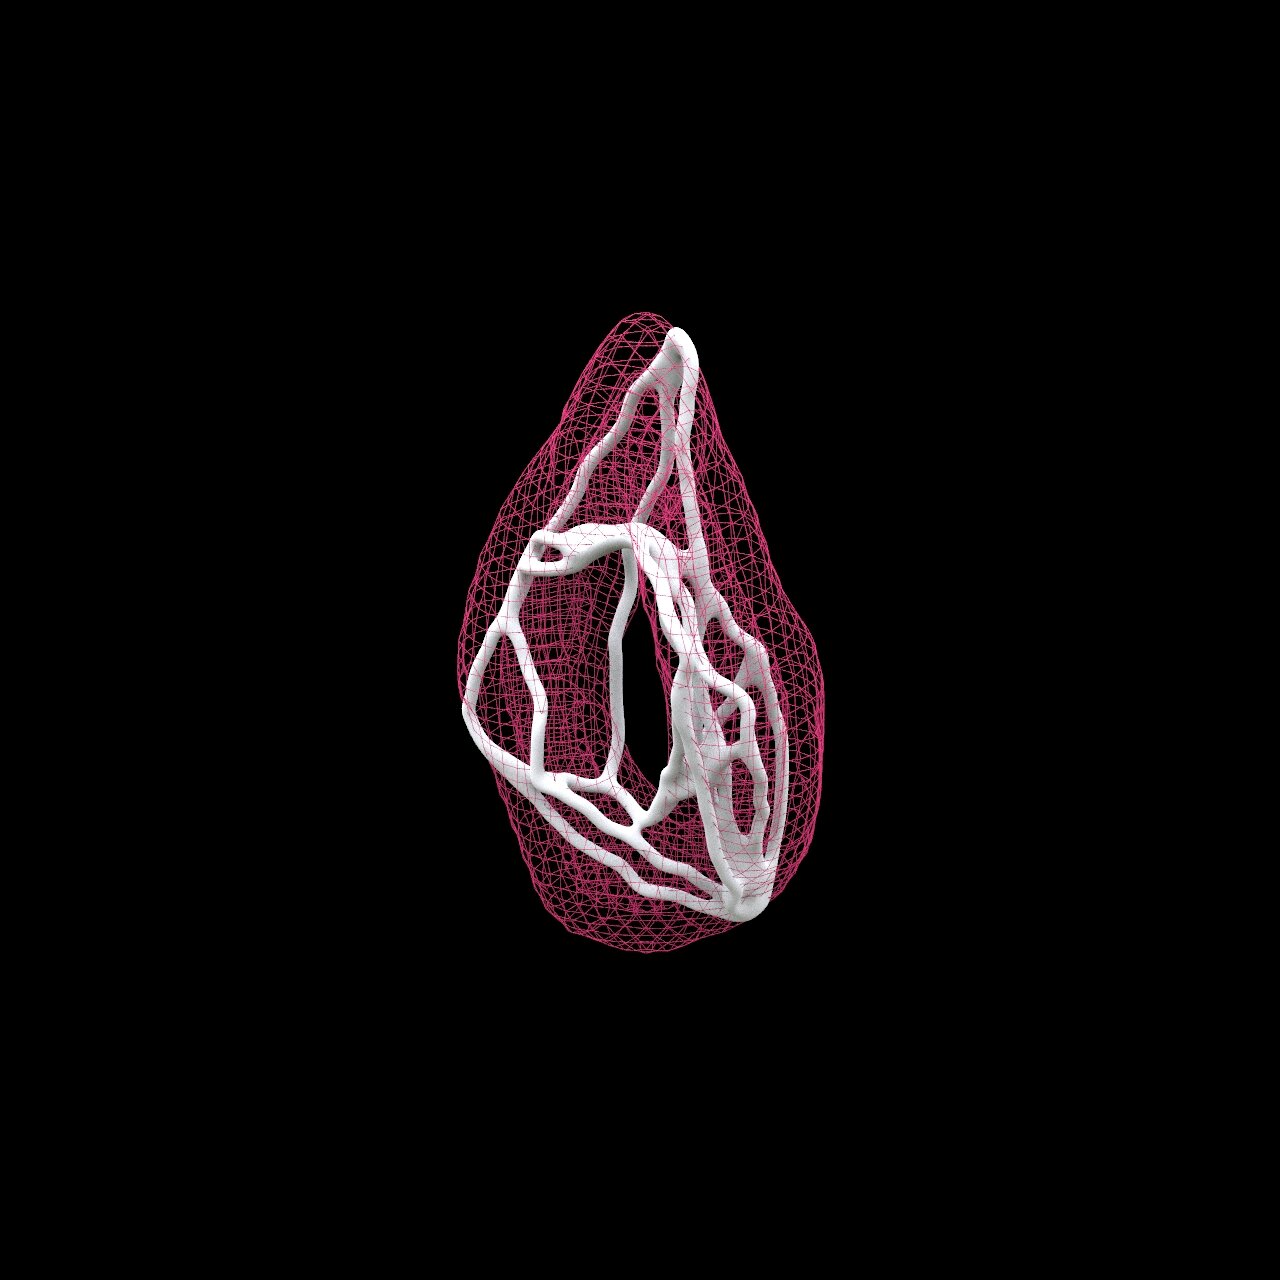
Carving, so-to-speak, started with a need to record the movement of particles in simulation as a solid. You can see all sorts of this in my PVP projects. You can work with VDB’s in a lot of software now, and while my preference is Houdini for it’s speed, Dendro for Grasshopper is another great option if you’re already working there. Working with VDB’s allows you to have immense control over a 3D volume by means of adjusting voxel resolution, volume point data, bandwidth, etc. What that means for an algorithmic sculptor is it doesn’t matter if you’re poorly skilled with your digital sculpting tools. You can extrapolate your typical settings (width, texture/noise/smoothness/, etc) to form the volume. In this case, these settings are forming the carving volume around a collection of curves.
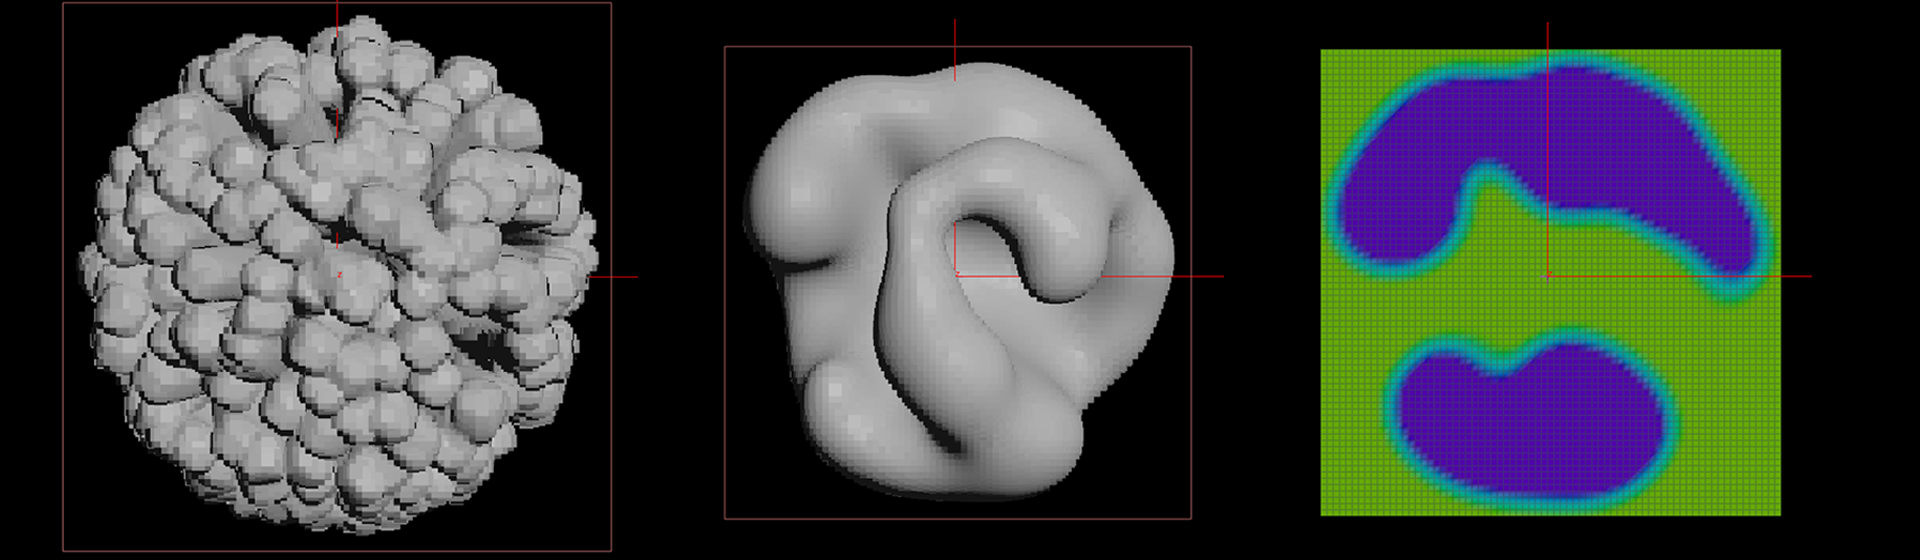
You do not have to work this way, but I prefer to tune the carving volume first, then carve away and adjust. You can see this process in stills below. It’s like creating a finely tuned 4-dimensional brush before you begin to see the actual sculpt. Entagma has a great tutorial breaking down the combination of VDB’s in Houdini which I highly suggest if this concept is new to you.
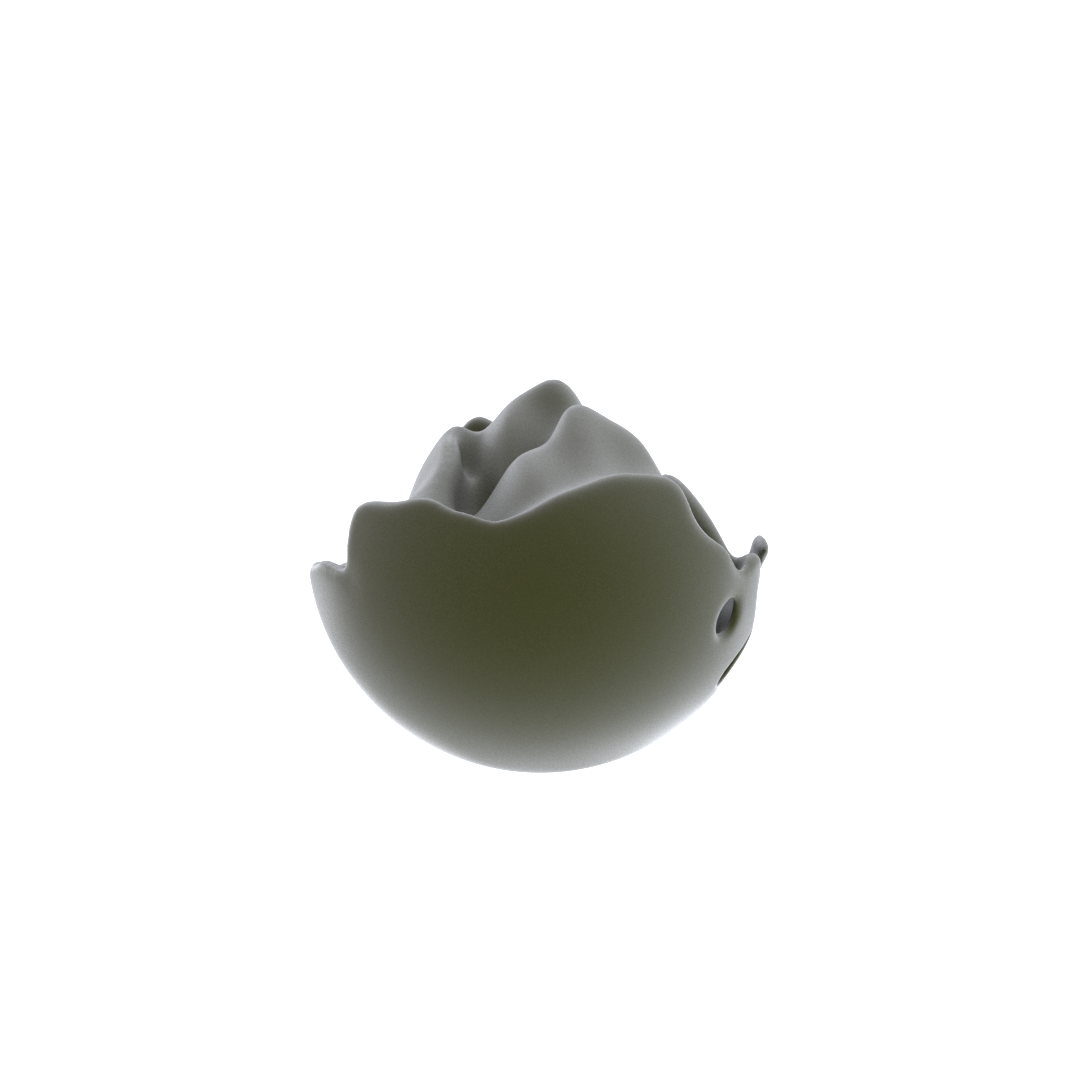
This process can be completely generative, painfully specific, or somewhere in between and often all of the above. The full range was implemented as part of a design process in a competition submission (Recall Stone) in which case an existing manually sculpted solid was used to generate a network of lines. This network was then pruned and adjusted for the final result after a series of iterations. At that point A full HDA (Houdini Digial Asset) was in order, which I suggest if you are interested in removing some of the complexity of this workflow to make it more intuitive. Neither of these examples showcase the full potential of this workflow in manipulating the noise/texture within a volume. The primary focus at this point was to flesh out pathing control and general definition.
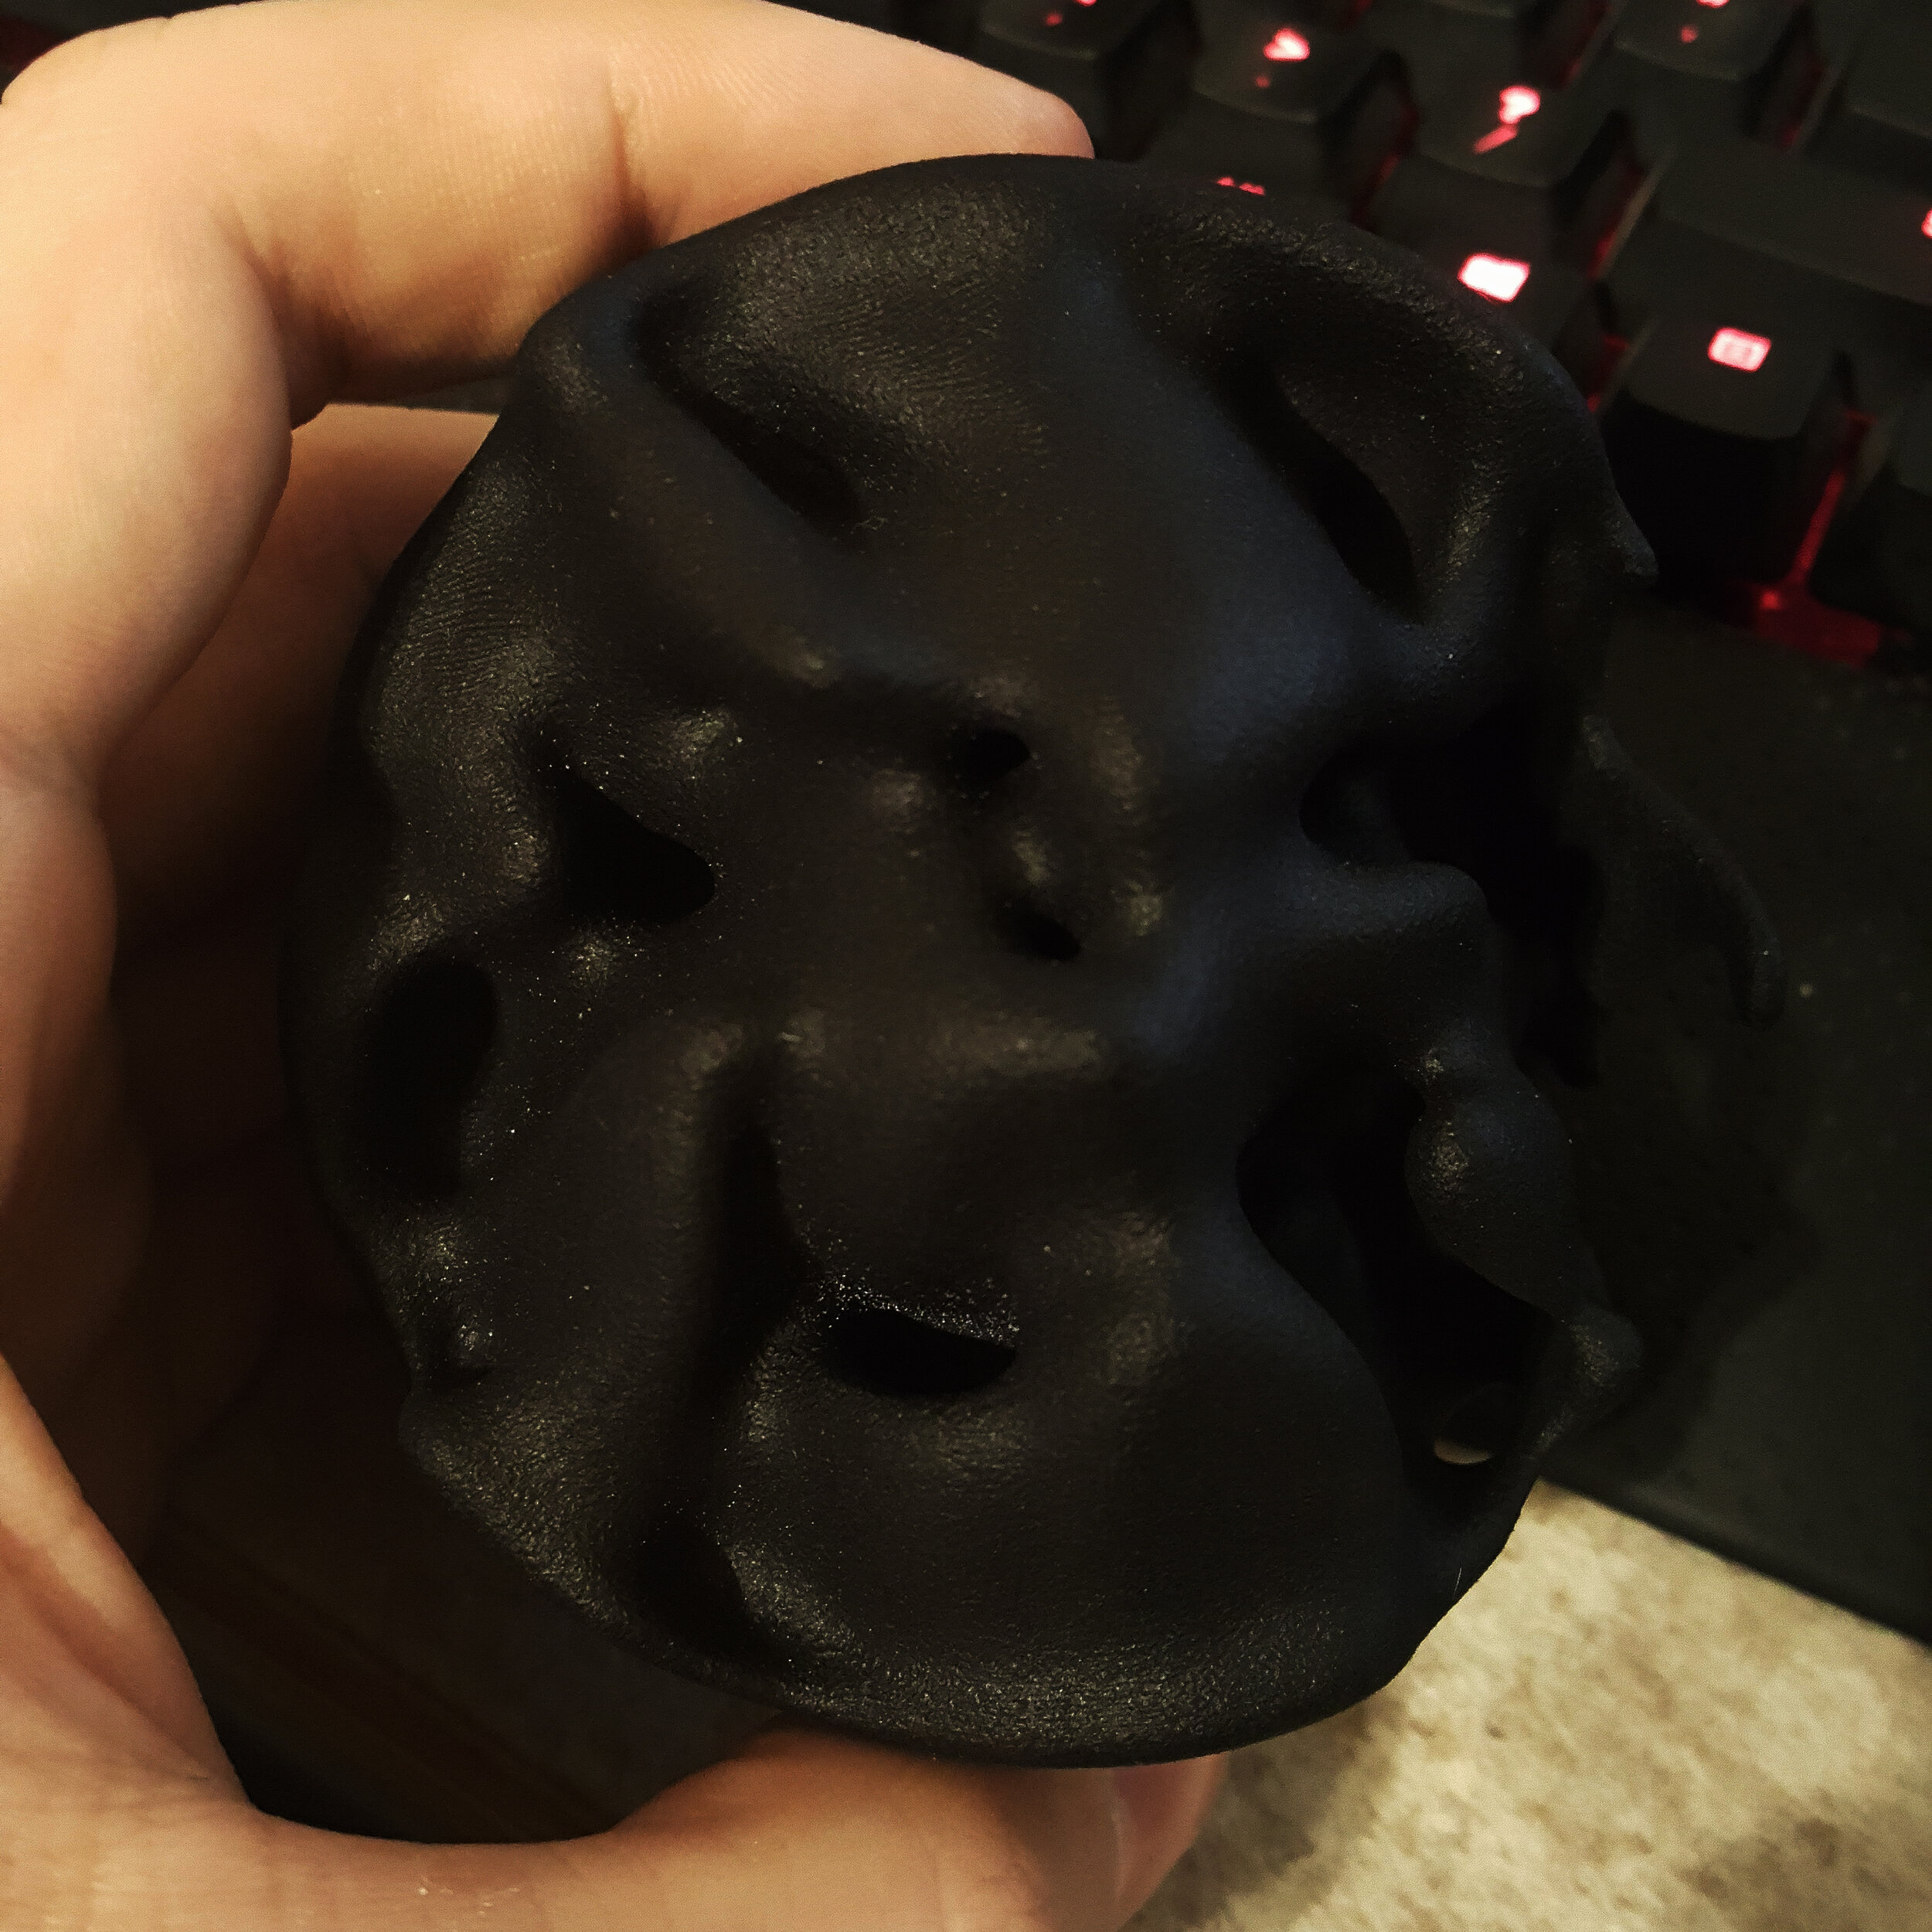
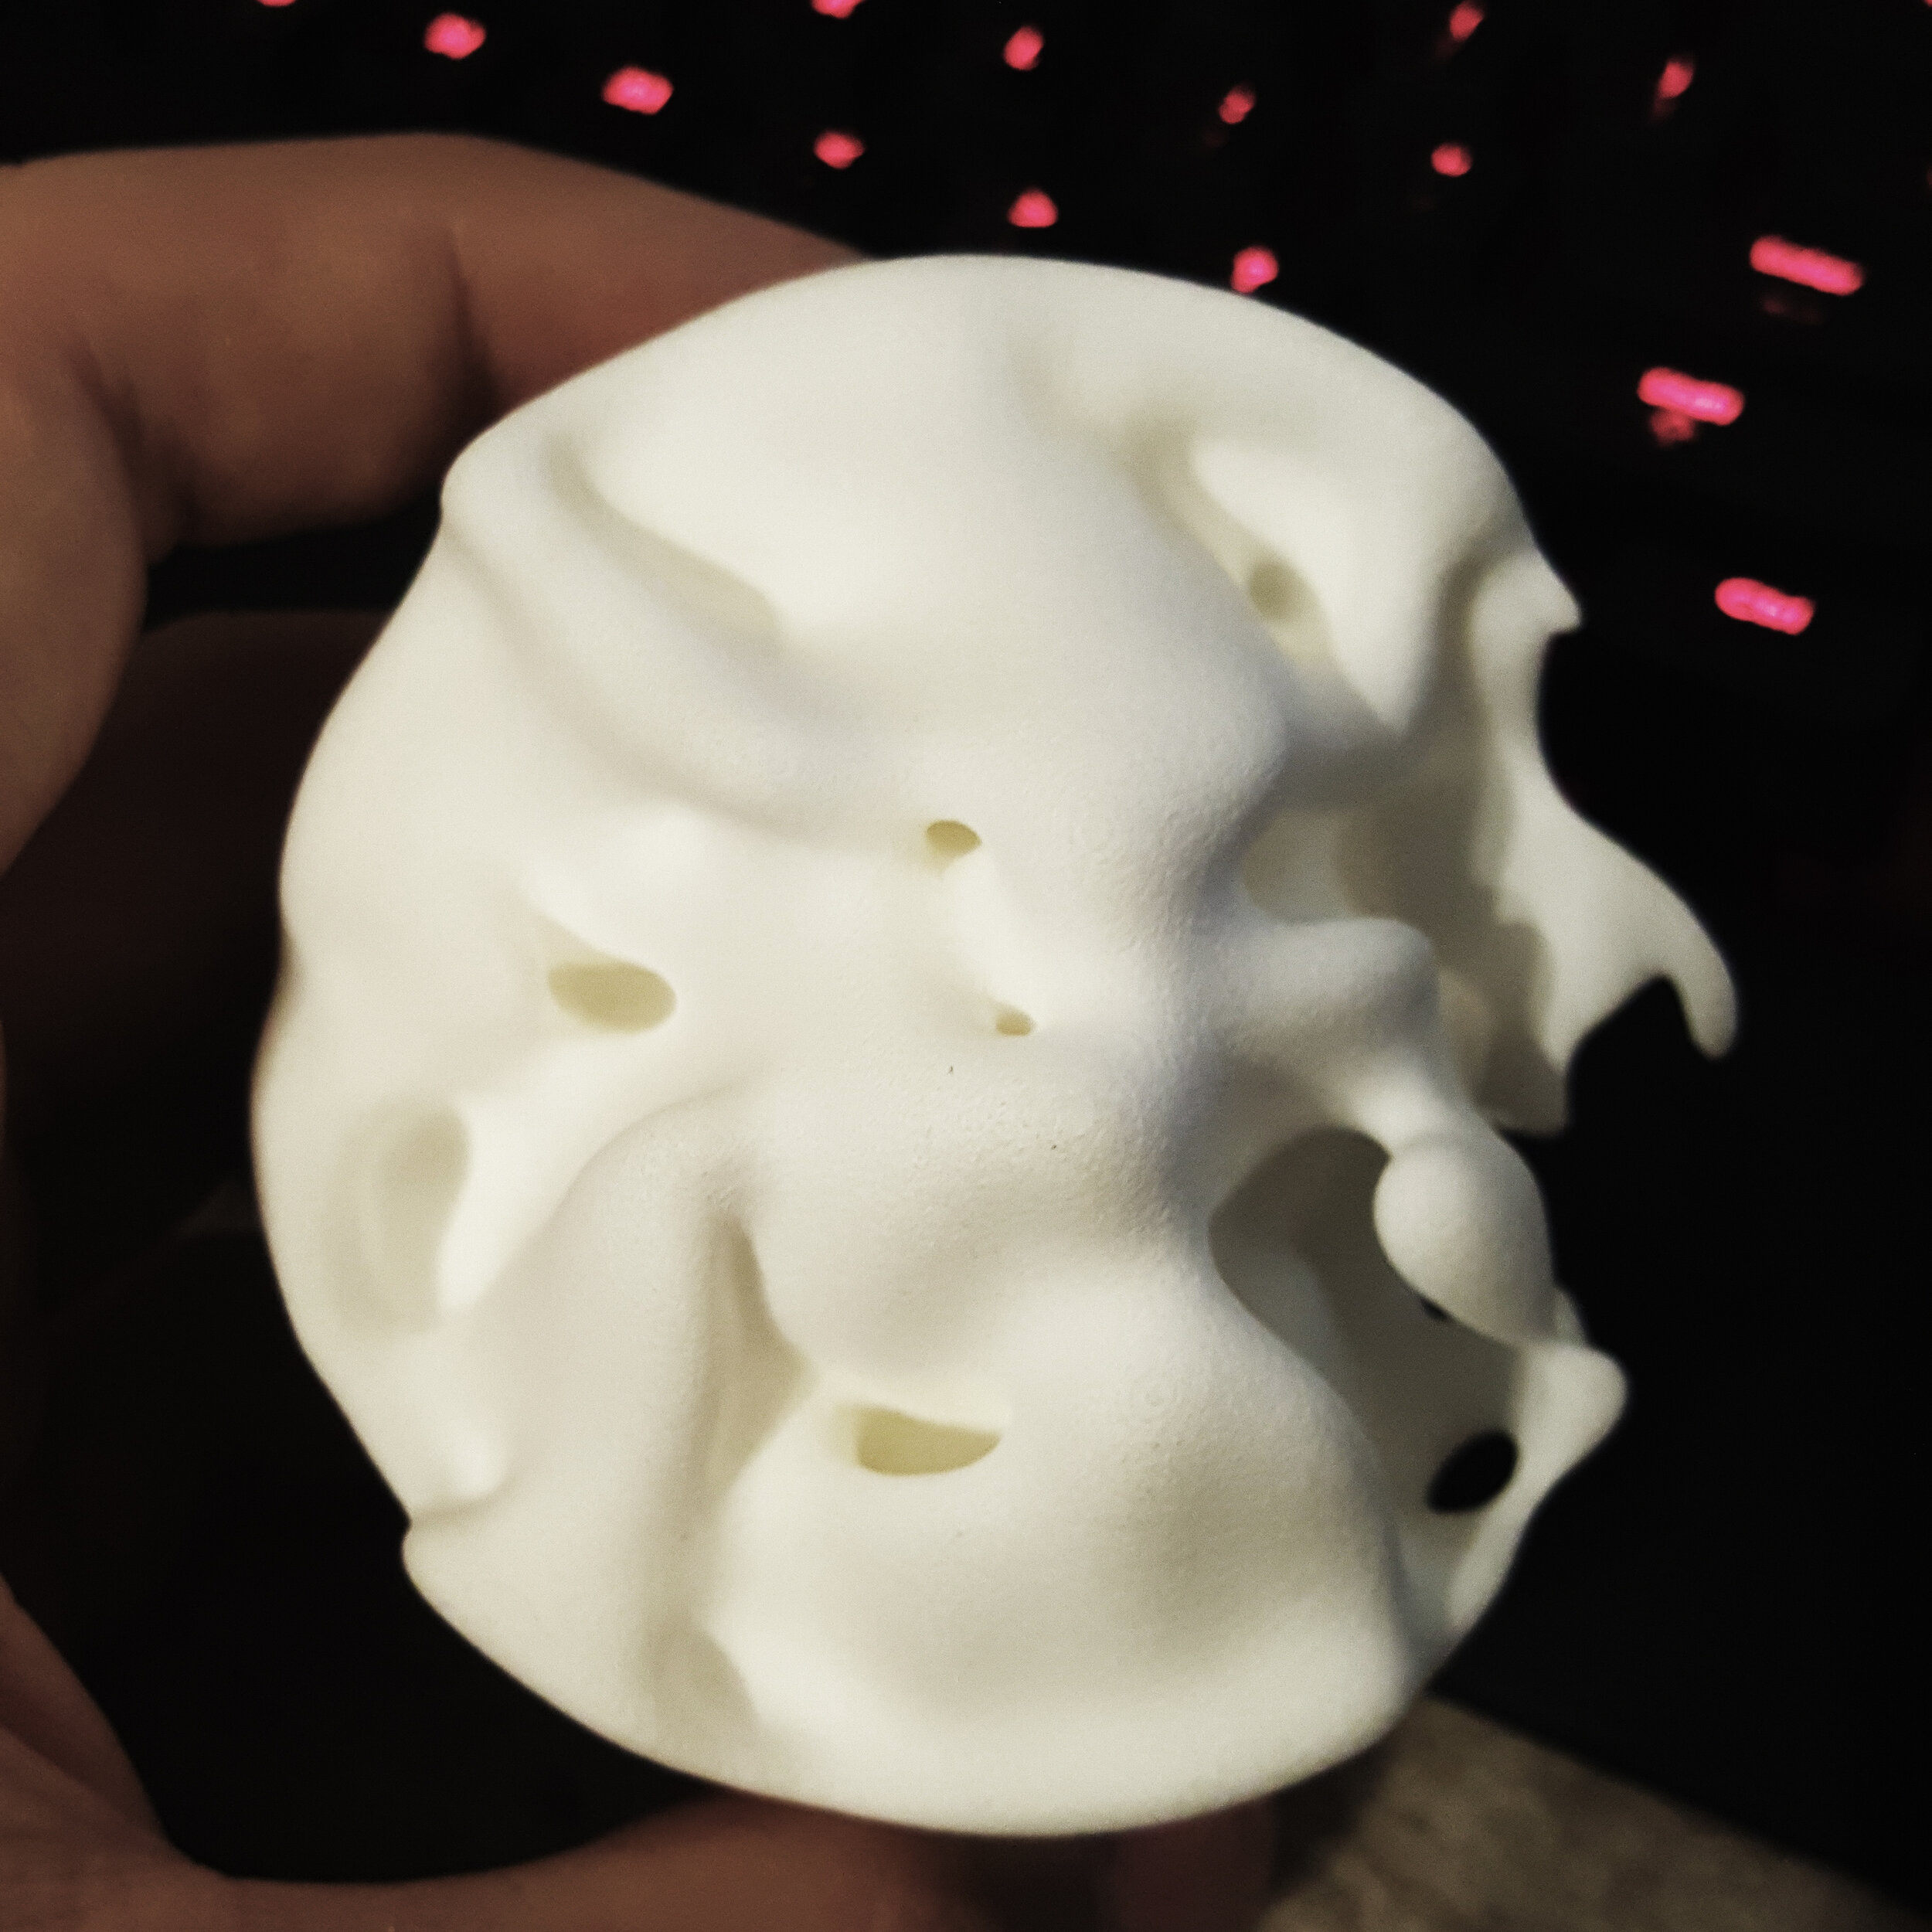
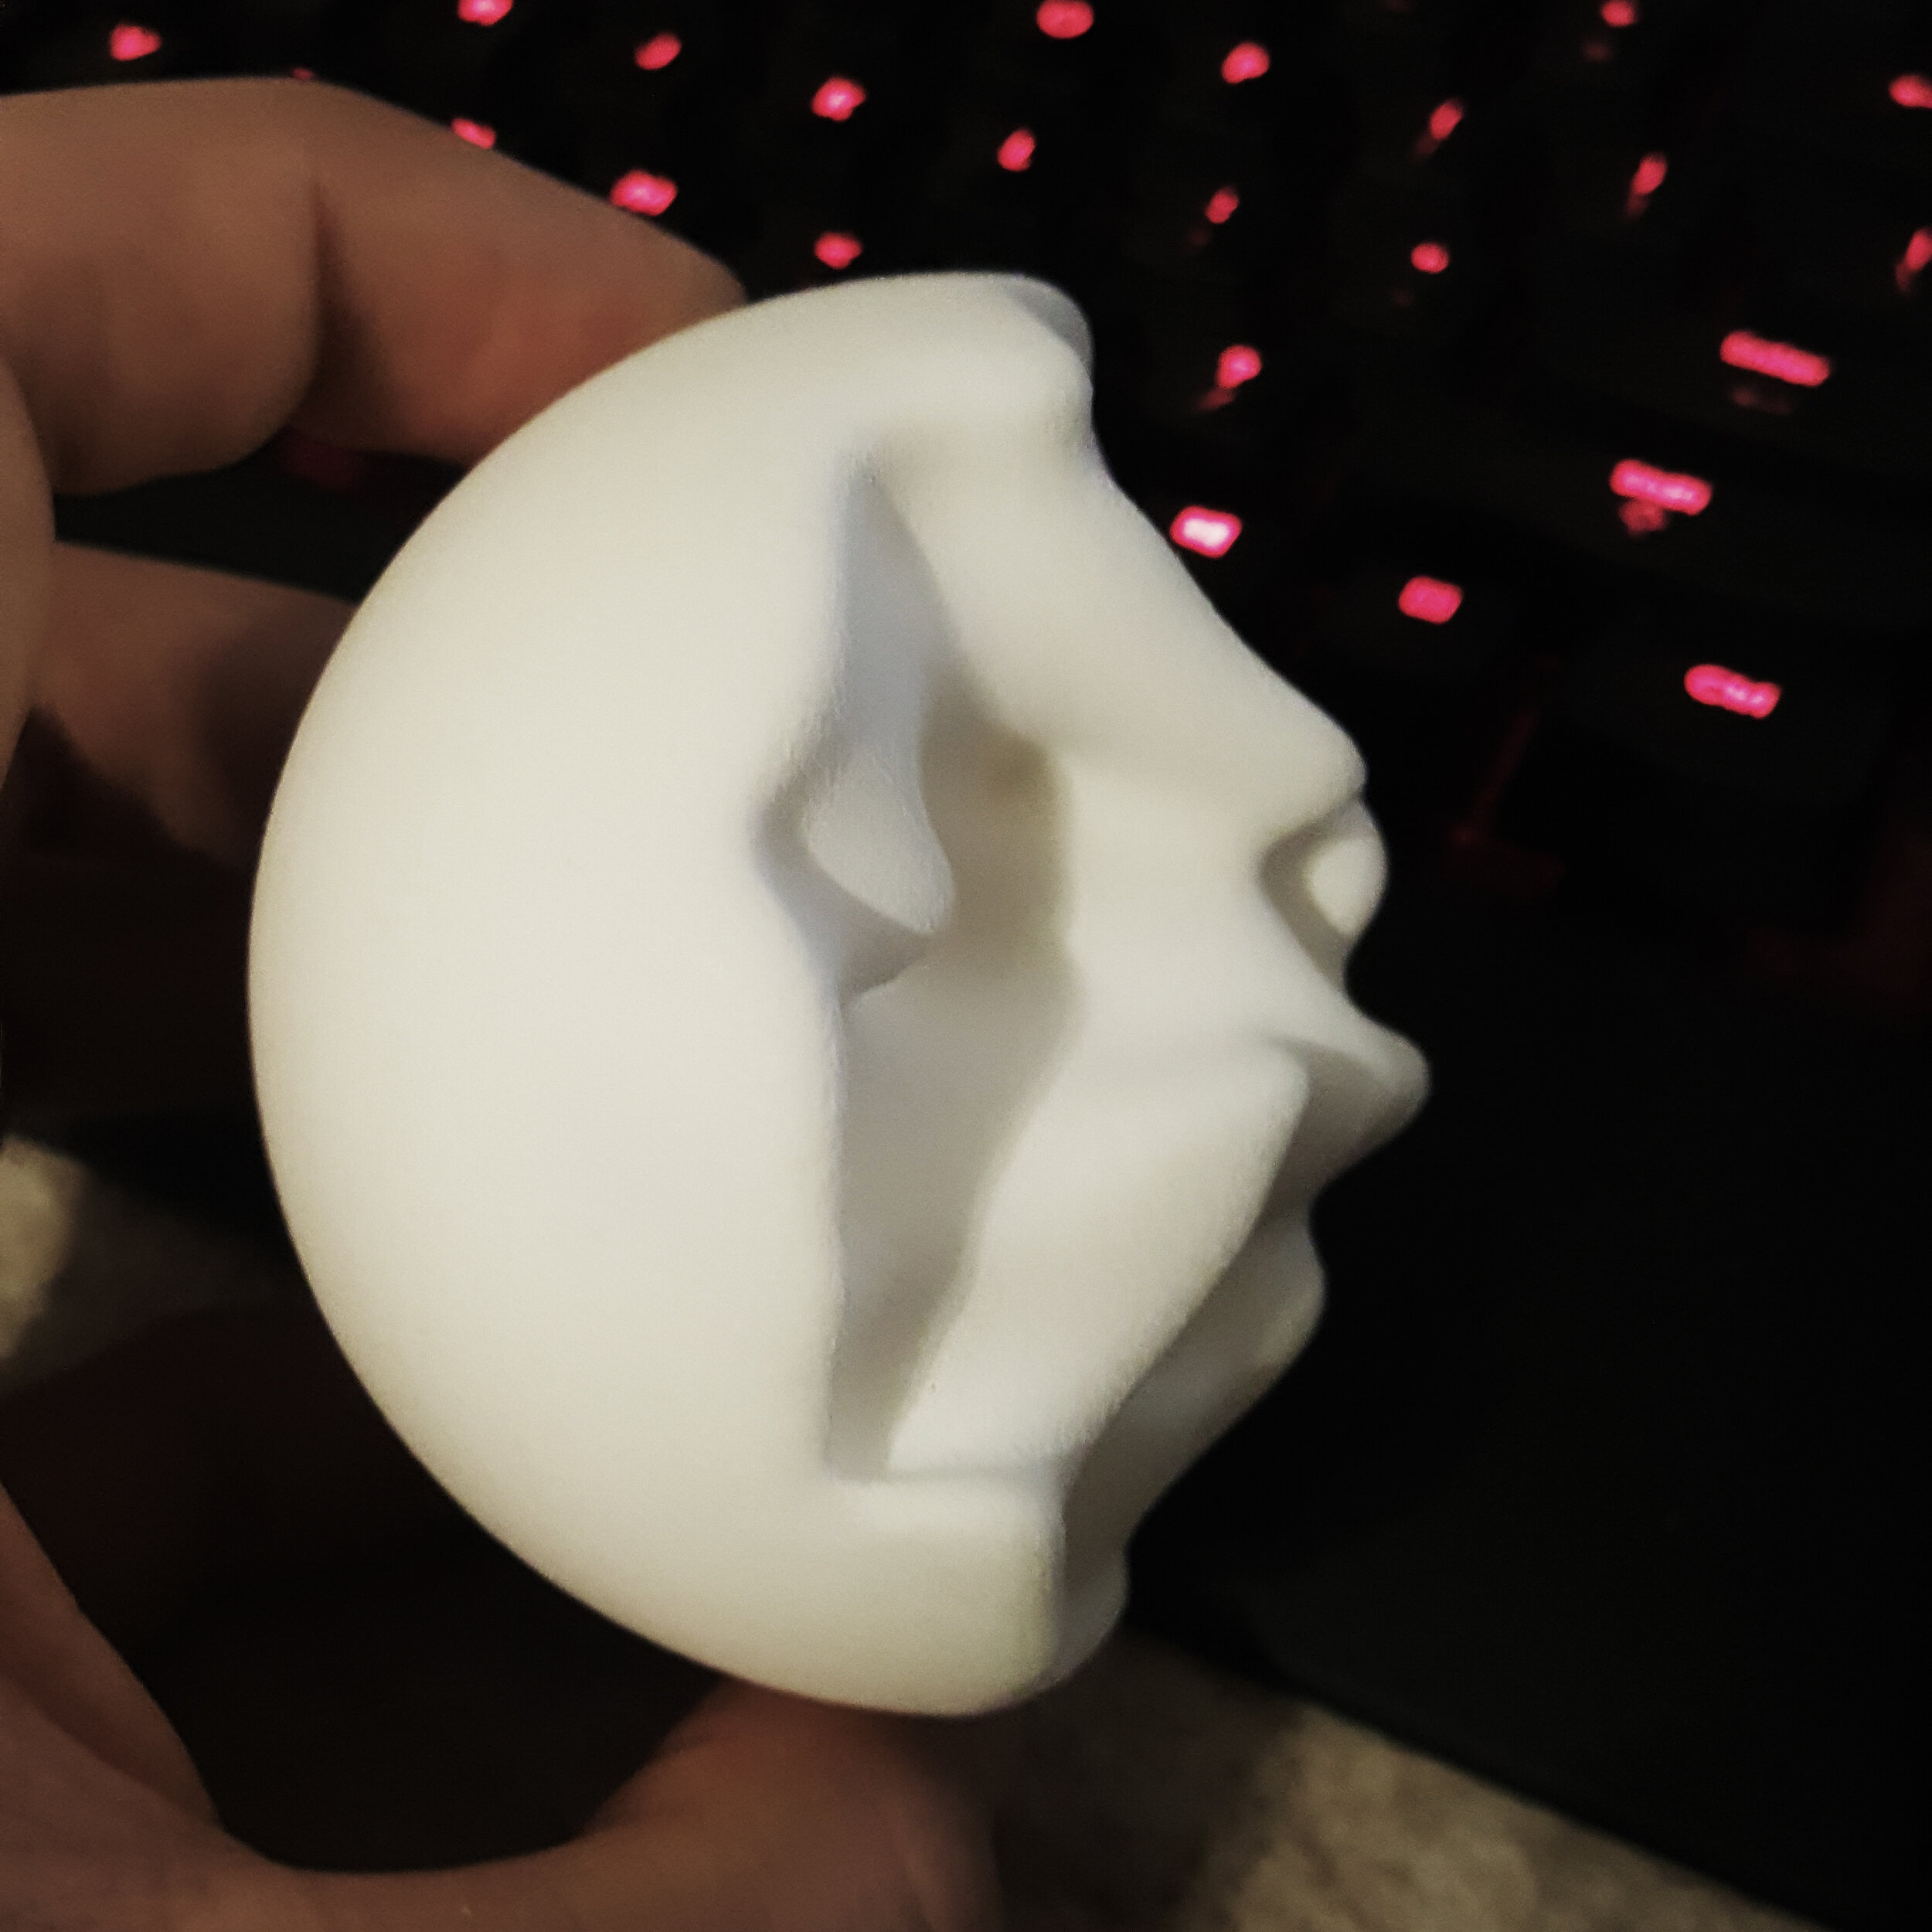
Technicalities aside, this process has changed the way I see some projects and how I tackle design problems. It not only has been quite freeing used in combination with other software and pipelines, but it has propelled my fascination with the philosophy of objects. That is why many of my experiments lately have derived from an oscillation between ambiguous scales and fictional realities. So much so that a collection of said objects have begun to materialize themselves through 3D printing and casting as yet an additional step in the endless design process. I hope to have more photos and drawings of these soon.
The Preview
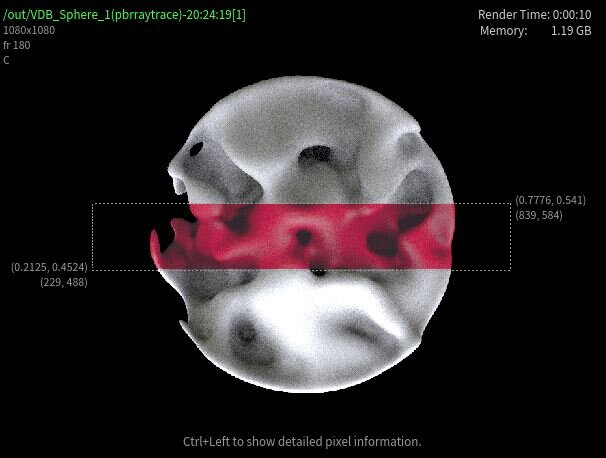
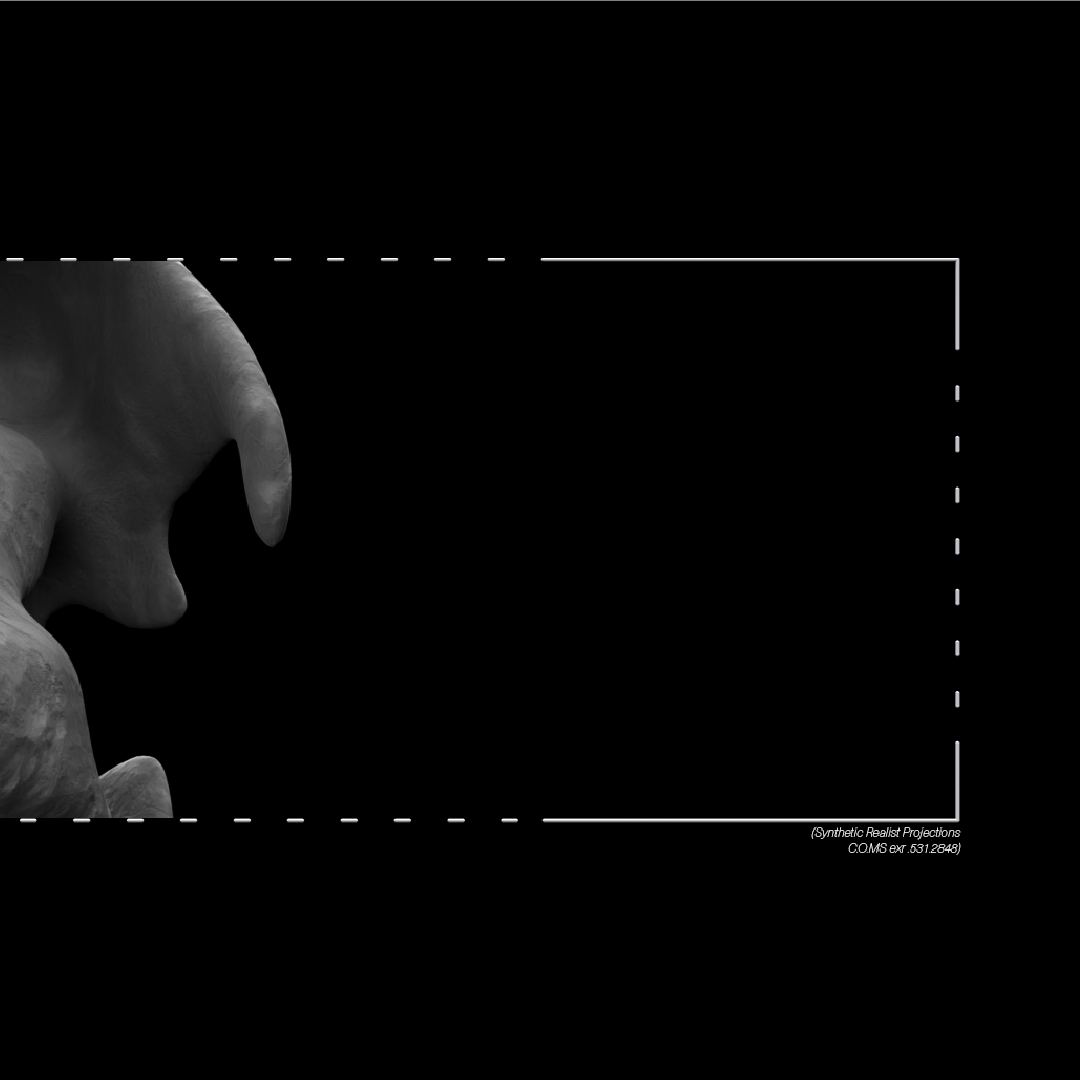
So much time is spent fine tuning 3D workflows, geometry, lighting, etc. At a point in the rendering process I began to think about the user interface (UI). In previous discussions about workflow limitation, the tools we use, even the monitors had been brought up as limiting. The very screen we use forces our perspective. So much so we stuff as much into these UI’s as possible to make up for its limitations.
I began to take screenshots throughout my process, particularly when working on look dev. and shading. Do these previews we use to work towards our end result have an impact on how our work develops? The way these windows are structured, the way we use them to focus on details to save time, the data they provide to make things clearer. All influence how we use the tool, but also impact our perspectives during a process of tuning perspective.
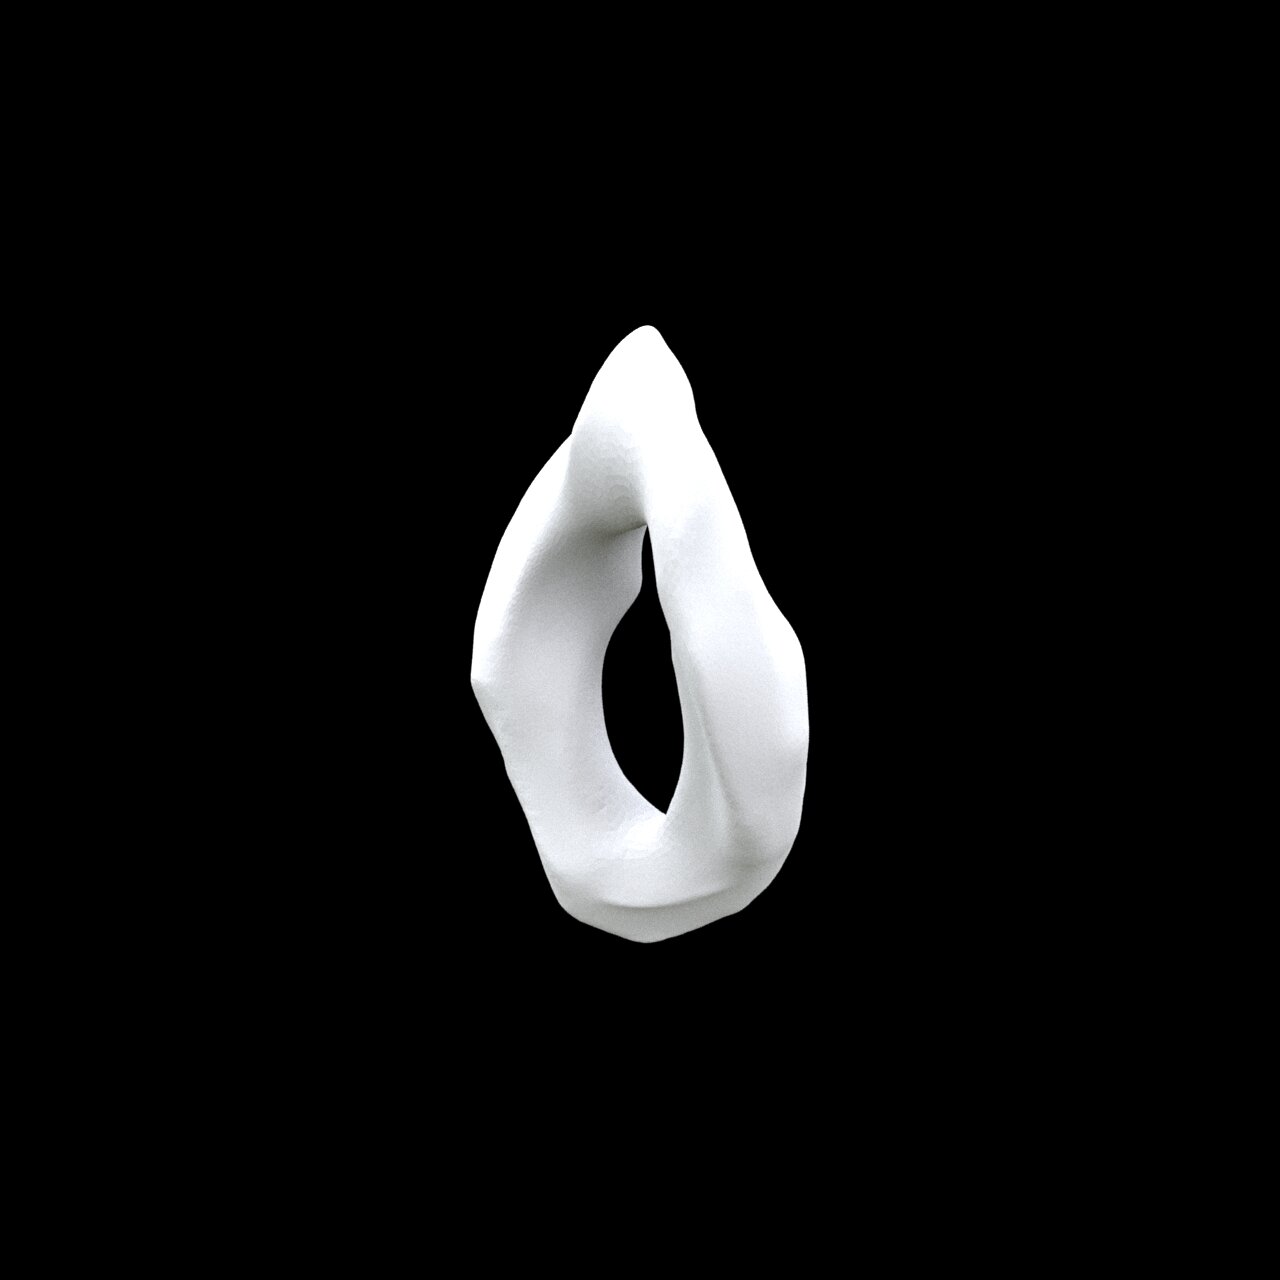
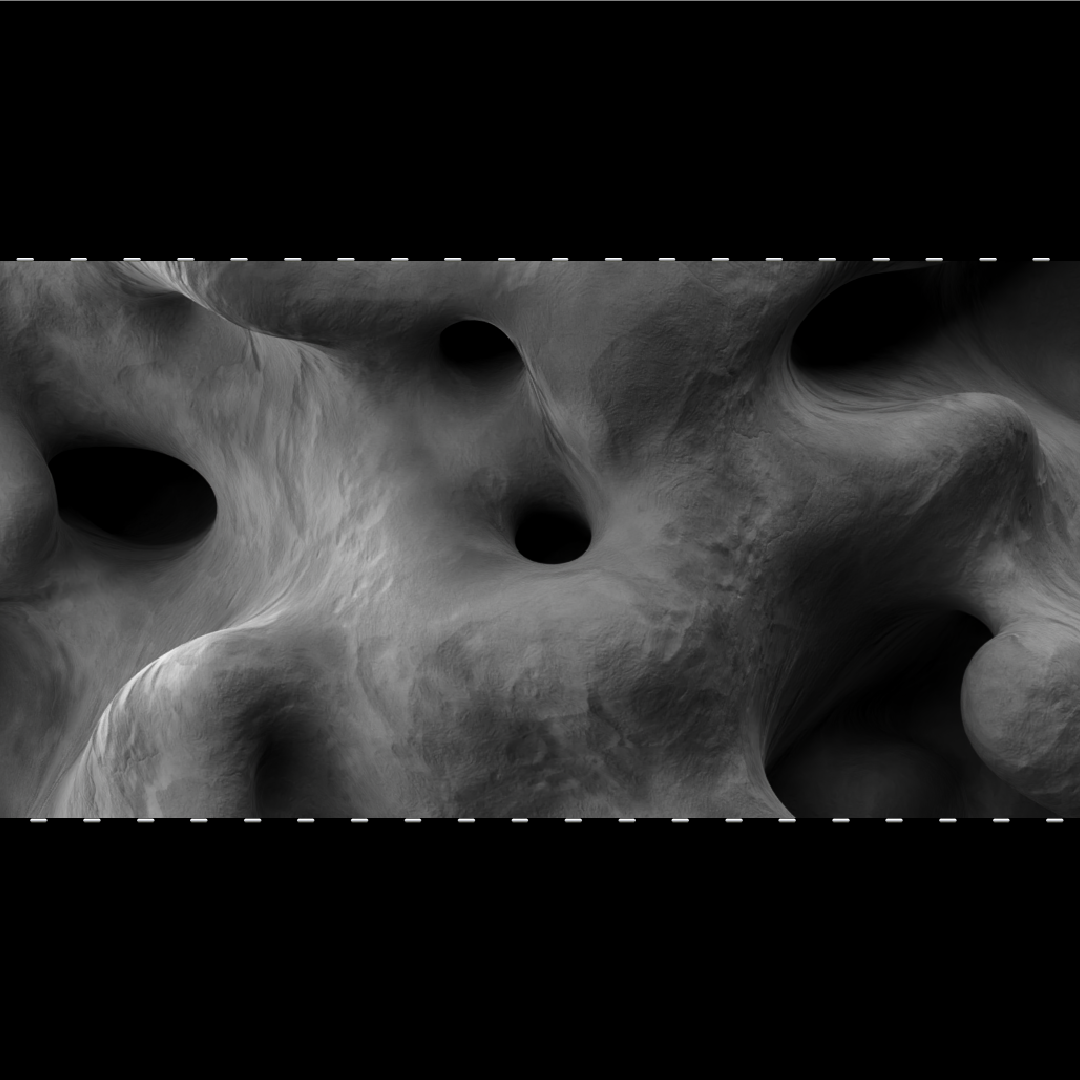
This is when I decided to produce images while working on these types of tools and workflows that focused on the concept of the render “preview”. How it could be used to create mystery in an image, or perhaps not define all possibilities for an object and its perspective view. It is not a single thing with a single purpose, but I feel it absolutely forces me to consider things in a different way while working.
The Moonscape of Carve Obj_01 developed from the preview above. While experimenting with lighting I came to a point where slicing this strange object thusly made me question certain aspects of scale in a condition where it was never defined. The result was this textural terrain. I have many ideas to develop a similar image to feel more alive and really own the sliced perspective, and have since experimented with other ways of developing a preview image however, once I reached this stage it seemed time to move on.

Currently I am in the process of producing some physical versions of these objects. Right now SLS printing is the primary method for the object itself. Hopefully adding texture through some form of sculpt, or perhaps finding a way to bake the texture info in the geometry can make for a more lively series of sculptures. Such detail could require a resin print. I digress, that is for another time, but enjoy these quick photos of a test print I received recently. In the meantime I may work on a video series covering this workflow once more kinks have been resolved.